

Solar Inverter Replacement Steps That Protect Output

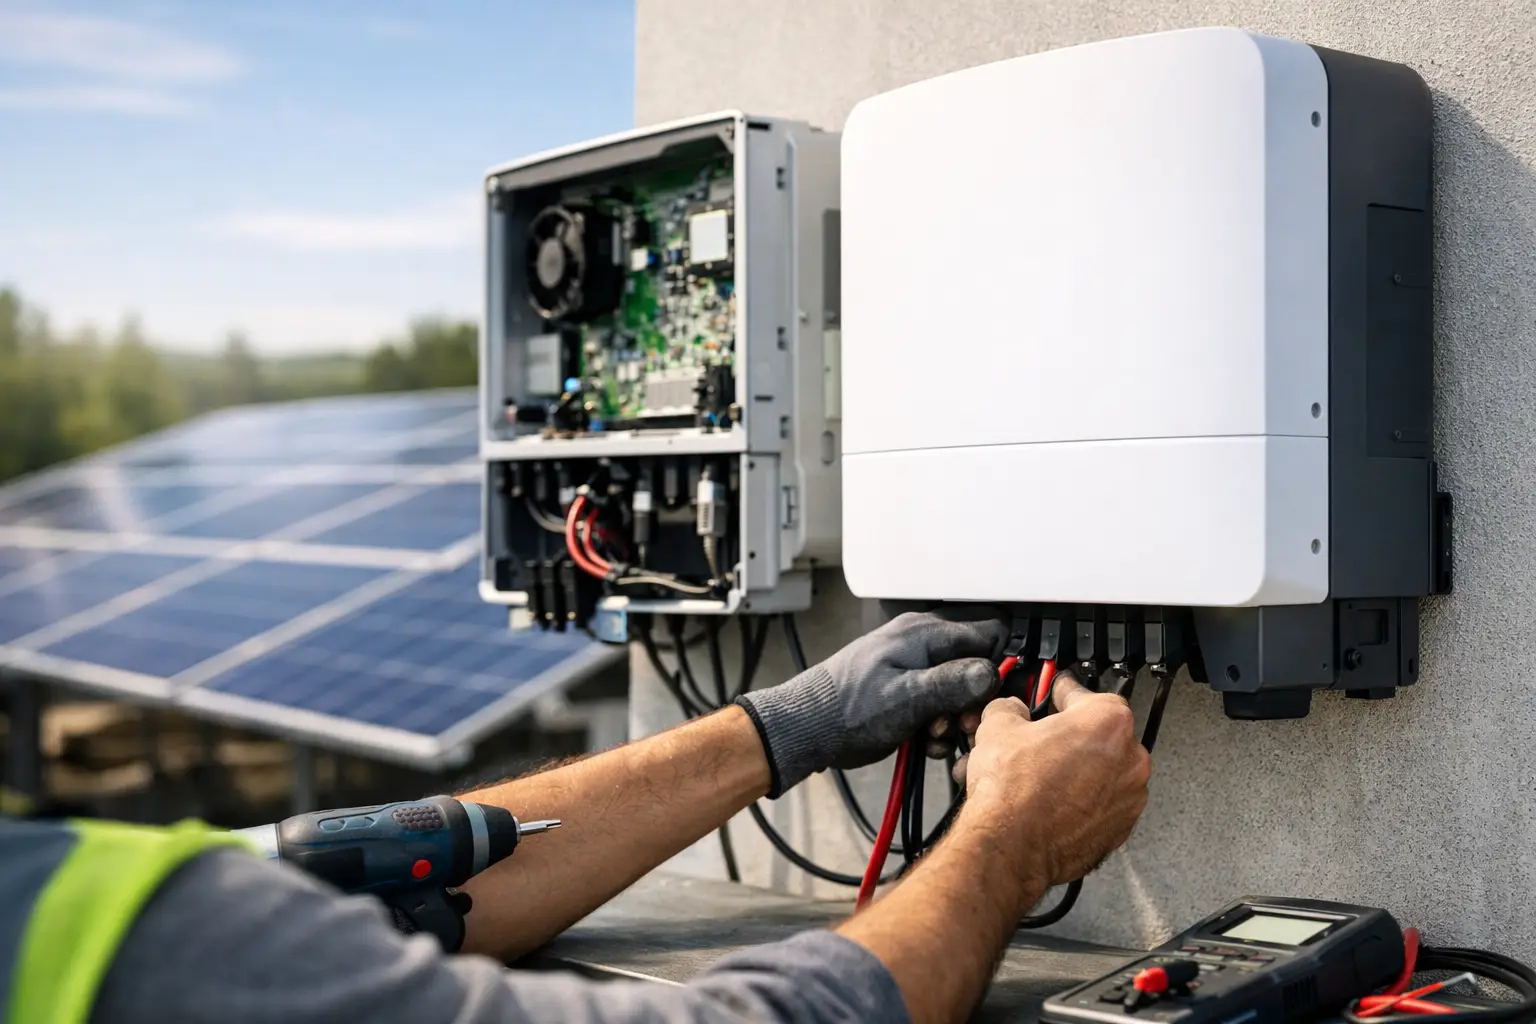
A solar inverter is the working connection between your panels and the electricity your property uses. When it needs attention, following the right solar inverter replacement steps protects system production, electrical safety, and the long-term value of the investment already on your roof.
For South Florida property owners, inverter service should also account for heat, humidity, storm exposure, existing permits, and the equipment already installed. A qualified replacement is not simply a matter of swapping one box for another. It is a controlled process that verifies the source of the issue, matches the right equipment to the system, completes electrical work correctly, and confirms that the system is producing as intended.
Why inverter replacement deserves a professional process
Solar panels produce direct current electricity. The inverter converts that energy into the alternating current used by lights, appliances, air conditioning, and business equipment. It also monitors the system and coordinates safe operation with the utility grid.
Because the inverter sits at the center of that process, the symptoms can be clear: production may stop, monitoring may show an alert, or the unit may display an error message. In other cases, the issue appears as lower-than-expected performance. That does not automatically mean the inverter is the cause. A communication issue, damaged wiring, a tripped disconnect, panel-level equipment, or a utility-related setting may produce similar results.
A professional diagnosis prevents the wrong repair and keeps a straightforward service need from becoming a larger electrical or compliance issue. It also helps determine whether the replacement should be a comparable inverter, a model with improved monitoring capability, or part of a broader system upgrade.
Solar inverter replacement steps, from diagnosis to startup
The exact sequence varies by system design and property conditions, but a reliable replacement follows a disciplined path.
1. Confirm the source of the problem
The first step is to inspect the system rather than assume the inverter has reached the end of its service life. A technician reviews the inverter display or monitoring portal, checks system production history, and inspects visible connections, disconnects, and electrical protection equipment.
This review identifies whether the inverter itself is at fault and whether any related corrections are needed. For example, a replacement may require attention to conduit, labeling, grounding, communication wiring, or the mounting location. Addressing these details at the beginning supports a clean installation and dependable restart.
2. Identify the correct replacement equipment
The replacement inverter must be compatible with the solar array, electrical service, panel configuration, and monitoring setup. The right choice depends on factors such as system capacity, the number and arrangement of solar panels, voltage requirements, and whether the property has battery backup or plans to add it.
This is where experience matters. Choosing an inverter based only on its physical size or a familiar brand name can create avoidable compatibility problems. A properly matched unit supports efficient energy conversion and allows the existing solar equipment to operate as designed.
For properties planning a battery installation, panel additions, or a roof project in the future, the replacement can also be selected with those next steps in mind. That approach helps preserve flexibility without overcomplicating the current repair.
3. Review permits and code requirements
Inverter replacement work may involve permits, inspections, or documentation depending on the equipment change, local requirements, and the status of the existing installation. This is especially relevant when a property has an open permit, expired permit, incomplete final inspection, or an electrical code item that needs correction.
These issues are manageable when handled by a licensed solar contractor. The goal is to bring the system into a condition that can be properly documented, inspected when required, and approved by the local authority. A replacement is often a practical opportunity to resolve unfinished solar paperwork or corrections tied to the original installation.
4. Safely isolate and remove the existing inverter
Solar equipment carries electrical energy whenever panels receive sunlight, so removal should be handled by trained professionals using the correct shutdown sequence. The system is isolated at the appropriate disconnects, and the technician verifies that it is safe to work on before disconnecting the inverter.
The existing unit is then removed while protecting the surrounding conduit, wiring, mounting hardware, and weatherproofing. On a home or commercial building, clean workmanship matters. The replacement should not leave exposed openings, loose conduit, unclear labels, or avoidable damage around the installation area.
5. Install the new inverter and complete electrical connections
The new inverter is mounted securely in the proper location and connected according to its approved specifications. Connections are checked for correct polarity, secure terminations, grounding, and weather protection. Any required labels, disconnect updates, or communication components are addressed during this stage.
South Florida conditions make installation quality especially valuable. Equipment must be secured appropriately and protected from the effects of heat, moisture, and changing weather. A professional installation focuses on the details that support reliable performance after the service truck leaves.
6. Program, commission, and test the system
After installation, the inverter must be configured for the system and utility requirements. The technician starts the system in the required sequence, verifies the inverter is communicating correctly, and confirms that it is converting solar energy into usable power.
Testing should include a review of production data, operating status, error codes, and monitoring access. If your property uses an app or web-based portal, this is the time to confirm that the new equipment is reporting properly. Monitoring is more than a convenience. It gives owners a clear view of production and makes it easier to spot changes that deserve service.
7. Complete inspection and closeout when needed
If the scope of work requires an inspection or municipal update, the final stage is coordinating the required documentation and approval. For a property with an existing permit issue, the closeout process may involve correcting the listed items, arranging inspection, and ensuring the record is resolved.
Solar Construction LLC handles technical solar service and permit resolution from diagnosis through final city approval. That is a meaningful advantage for owners who want one licensed team accountable for both the equipment and the paperwork attached to it.
What property owners can do before service begins
You do not need to troubleshoot electrical connections yourself. A few simple details can help the service process move efficiently: note any error message on the inverter or monitoring app, identify when production changed, and make sure the equipment area is accessible.
If the system was installed under a prior owner, by a company no longer available, or alongside a roof project, share any documents you have. Even partial records can help identify equipment models, permit status, and past system configuration. If records are unavailable, a qualified contractor can still inspect the site and develop the appropriate service plan.
Replacement versus a broader solar upgrade
Sometimes a direct inverter replacement is the right solution. In other situations, the property may benefit from combining the work with panel additions, battery backup, electrical corrections, or solar removal and reinstallation for roofing work.
The decision depends on your present system, energy goals, and property plans. A homeowner preparing for a new roof may choose to coordinate solar work at the same time. A commercial owner with growing electrical demand may consider whether the replacement should support future expansion. The best path is the one that restores performance now while fitting the property’s next move.
A properly completed inverter replacement gives your solar system a dependable path back to production. With the right diagnosis, compatible equipment, careful electrical work, and any necessary permit closeout, your property can continue turning South Florida sunshine into useful energy with confidence.